
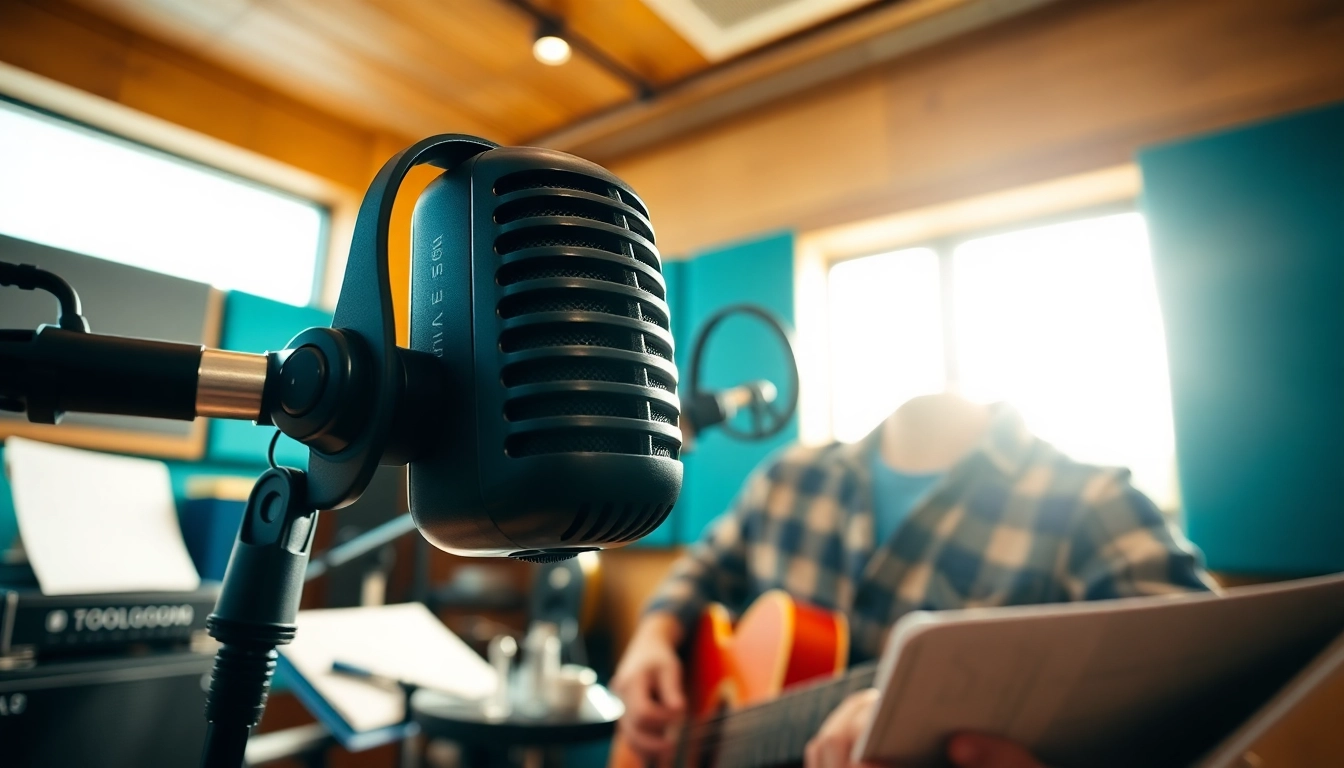
Understanding the MV88 Microphone
In the ever-evolving world of audio recording, having the right tools is essential for achieving high-quality sound. One microphone that has captured the attention of musicians, podcasters, and videographers alike is the MV88. This compact, high-performance microphone is designed for mobile devices, making it an excellent choice for on-the-go recording. But what exactly makes the MV88 a standout choice? Let’s delve deeper into its unique features and functionalities.
What Makes the MV88 Unique?
The MV88 is a digital stereo condenser microphone that sets itself apart with several innovative features. Its lightning connector directly attaches to Apple devices, eliminating the need for additional adapters and making it incredibly easy to use. Designed by Shure, a reputable name in the audio industry, the MV88 presents a unique combination of portability and professional quality that is hard to beat.
What truly distinguishes the MV88 is its ability to record in multiple stereo patterns, including cardioid and bi-directional. This versatility allows users to adapt to different recording scenarios, whether you’re capturing vocals, instruments, or ambient sound. Additionally, the microphone is equipped with a built-in preamp and a high-performance A/D converter to ensure superior audio quality.
Key Features and Specifications
Understanding the specific features of the MV88 can help users maximize its utility. Here’s a summary of its main characteristics:
- Microphone Type: Digital stereo condenser microphone
- Connection: Lightning connector compatible with iOS devices
- Frequency Response: 20Hz to 20kHz
- Sensitivity: -45 dB re 1 V/Pa
- Dynamic Range: 120 dB
- Audio Sample Rates: Up to 48 kHz
- Recording Patterns: Cardioid, bi-directional, and omnidirectional
- Mobile App: ShurePlus MOTIV for additional control over settings
These specifications demonstrate that the MV88 is designed with high-fidelity recording in mind, making it a reliable choice for those looking to achieve professional sound quality in their recordings.
Comparing MV88 with Other Microphones
When comparing the MV88 to other microphones in its category, it’s crucial to consider factors such as audio quality, connectivity, and ease of use. For example, when pitted against traditional microphones like the Shure SM58 or the Audio-Technica AT2020, the MV88 shines in terms of portability and compatibility with mobile devices.
Moreover, while larger studio microphones generally offer superior sound quality and versatility, they often require additional hardware and setup time, which can be cumbersome for musicians and content creators on the go. The MV88’s compact design allows for spontaneous recording; it can fit easily in a pocket or a small bag, thus catering to the needs of modern creators who value convenience and quality.
Setting Up Your MV88 for Optimal Performance
To ensure that you get the most out of your MV88 microphone, setting it up correctly is crucial. The right recording environment and proper connection to your devices play a vital role in achieving the best audio quality.
Preparing Your Recording Environment
The first step to optimal performance is to create a suitable recording environment. Ideally, you should aim to reduce background noise, as it can significantly affect the quality of your recordings. Here are some tips to consider:
- Choose a Quiet Space: Look for locations away from traffic, HVAC systems, and other potential noise sources.
- Soundproofing: If possible, use sound-absorbing materials like curtains, blankets, or specialized acoustic panels to minimize echo.
- Control the Environment: Consider the time of day when recording to take advantage of quieter periods, like early mornings or late evenings.
Connecting the MV88 to Your Devices
Connecting the MV88 to your Apple device is straightforward. Follow these steps to ensure a seamless connection:
- Locate the lightning connector on your MV88 microphone.
- Plug the connector into your iOS device’s lightning port.
- Open your preferred recording application, such as GarageBand or Shure’s own ShurePlus MOTIV app.
- Once connected, you should see a prompt from the app indicating that the microphone is ready for use.
Using the ShurePlus MOTIV app, you can further customize your recording settings, including stereo width, gain levels, and EQ adjustments, allowing you to tailor your sound to your specific needs.
Best Practices for Placement and Usage
Placement of the MV88 plays a significant role in determining audio quality. Here are some best practices to consider:
- Distance: Maintain an appropriate distance from the sound source. For most applications, 6 to 12 inches is ideal for vocals, while instruments may require slightly different placements.
- Angle and Orientation: Experiment with the microphone’s angle to determine the best capture. The MV88’s adjustable design allows it to rotate, which means you can point it directly at the sound source for optimal clarity.
- Monitor Audio Levels: Use the audio levels displayed on your recording app to make adjustments, ensuring you are not clipping or distorting the sound.
Recording Techniques with the MV88
Once your MV88 is set up, you can explore various recording techniques that showcase its capabilities. Whether you’re aiming for studio-quality sound or performing live, mastering these techniques will enhance your audio projects significantly.
Capturing Studio-Quality Sound
Achieving studio-quality sound with the MV88 revolves around understanding its functionalities. Here are steps to capture high-quality recordings:
- Use the Right EQ Settings: Utilize the ShurePlus MOTIV app to adjust EQ settings based on your recording needs. Cut unwanted low frequencies when capturing vocals, while increasing the high frequencies can add clarity.
- Experiment with Recording Modes: Choose between the different stereo patterns based on your recording situation. The cardioid mode is excellent for single sound sources, whereas the omnidirectional mode can effectively capture ambient sounds.
- Monitor While Recording: Make use of headphones to monitor your audio in real-time, allowing you to make immediate adjustments as necessary.
Using the MV88 for Live Performances
The MV88 is not just limited to studio recordings; it can also excel in live performance settings. Here’s how to optimize your setup:
- Utilize a Windscreen: If you’re performing outdoors, using a windscreen can help minimize wind noise interference.
- Connect to an Audio Interface: For performances requiring more complex setups, consider connecting your MV88 to a portable interface that can expand your audio capabilities.
- Position Wisely: Ensure the microphone is placed closer to the sound source, especially when dealing with larger venues where audience noise may be a concern.
Adjusting Settings for Different Genres
Different music genres may require specific adjustments to get the best sound possible. Here are some strategies depending on the genre you’re working with:
- Pop and Vocals: Focus on clarity by boosting the mids and highs in your EQ settings, and use the cardioid pattern to isolate the singer.
- Acoustic and Folk: Omnidirectional settings may work well for capturing the warmth of acoustic instruments, especially during group performances.
- Rock and Band Setups: Employ the bi-directional setting to capture the band’s overall sound, ensuring that dynamic performances are preserved.
Common Challenges and Troubleshooting
As with any audio equipment, users may face challenges when using the MV88. Understanding these common issues and their solutions can improve your experience significantly.
Identifying Sound Quality Issues
Sound quality troubleshooting often begins with identifying the problem. Here are common issues users might face:
- Distortion: If you hear distortion, it could be due to clipping from high gain settings. Adjust levels downward to find an optimal setting.
- Background Noise: If ambient noise is overpowering, assess your recording environment for sounds that might be eliminated or reduced.
- Lack of Clarity: Ensure that your microphone is appropriately positioned, maintaining proper distance from sound sources.
Dealing with Connectivity Problems
Connectivity issues can hinder your recording experience. Follow these steps if you encounter problems:
- Check Connection: Ensure the MV88 is securely connected to the lightning port on your device.
- Restart the App: If your recording app doesn’t recognize the microphone, try restarting it or your device to refresh the connection.
- Update Firmware: Ensure the MV88 firmware is current. Check the Shure website for any updates.
Tips for Effective Problem Solving
Here are some general troubleshooting tips that can address various issues:
- Experimentation: Don’t hesitate to change your recording settings or environment. Experimenting may yield better results.
- Seek Online Communities: Joining forums or online groups related to audio recording can provide valuable insights and solutions from experienced users.
Enhancing Your Audio Projects
Once you’ve successfully recorded with the MV88, the next step is enhancing your audio projects during post-production and integration into your workflow. This section focuses on post-production techniques and how to measure your project’s success.
Post-Production Techniques with MV88 Recordings
Post-production is where raw recordings can be polished into professional-sounding tracks. Here are fundamental techniques to consider:
- Editing: Use audio editing software such as Audacity or Adobe Audition to trim, fade, or EQ your recordings, enhancing clarity and reducing unwanted noise.
- Layering: Combine multiple tracks to create a richer sound. Layering can be particularly effective in music, allowing for harmonies or backing vocals.
- Using Effects: Experiment with audio effects, such as reverb, compression, and delay, to add depth and character to your recordings.
Integrating MV88 into Your Music Workflow
Successfully incorporating the MV88 into your existing workflow can streamline your process and improve your output:
- Consistent Settings: Develop a consistent set of settings that work across your projects to minimize time spent adjusting parameters.
- Sample Rates: Always use the same audio sample rate for all recordings within a project to ensure uniformity and compatibility.
- Backup Files: Regularly back up your audio files, especially after successful recordings, to prevent loss due to device failure or other issues.
Measuring Success: Metrics for Improvement
Tracking the success of your audio projects is essential for growth. Here are key metrics to watch:
- Listener Feedback: Gather feedback from listeners to understand what works and what could be improved in your audio projects.
- Engagement Metrics: If your recordings are for online platforms, monitor engagement metrics such as views, likes, and shares to gauge listener interest.
- Technical Quality: Regularly review recorded audio for clarity, distortion, and other quality issues to ensure you’re consistently delivering high standards.